Showing posts with label decorating. Show all posts

15 October 2014

Something Strange in your Neighborhood?

Something weird and it don't look good?


I ain't afraid of no ghosts.*

In fact, I love ghosts. And costumes. And Halloween.
And with Halloween comes decorations. Or at least it does at this house. Or this cabin.

Because this year's decorating budget is less than zero and all of my real Halloween decorations are in Texas, I had to get creative.    It is so true that necessity is the mother of invention.
And poverty is the father of decorating on the cheap!

What did I have to work with?
Three tiny pumpkins that I actually harvested myself back when I volunteered with Colorado Farm to Table.  Some card stock in black and white plus some twine. A straw pumpkin leftover from last year. I looked for pinecones but had to settle for seed pods. Some pumpkin candles. Three smallish frames. And an empty Ball Mason jar.

What did I go buy? Two squashes and a couple of larger pumpkins. A $3.00 felt Halloween banner from Target.

And what did we end up with?

A wonderfully festive mantel.


Ghosts guarding the kitchen.


And B-O-O propped on a ledge.


Aren't you jealous?


Want to know how to make your own garlands?

It is so easy peasy I even made a ghost one to send to Belle in Florida.

The Ghost Garland requires twine, white card stock and a small hole punch.  (Or something to make holes for stringing.)

Search ghost images online or you can just use the one I found:
http://lizoncall.com/wp-content/uploads/2014/08/Happy-Haunting-Ghost-Banner.jpg
from the blog Liz On Call.

Print out three sheets of the 4 to a page ghosts on white card stock.
Then I enlarged to 150% and printed two sheets of 2 to a page ghosts.
Enlarge again to 175% and print one large ghost.
When you enlarge, you may have extra ghost parts on your pages so make sure you just print PAGE ONE only.


Then plop down in front of your favorite TV show and cut out all your ghosts. Punch holes in the top of their little heads. Cut a length of twine about 8 feet long. Tie a loop at one end.
Arrange your ghosts like so :
6 small ghosts, 2 medium ghosts, 1 large ghost, 2 medium ghosts and 6 small ghosts.
String them in that order and tie off a loop at the other end.
Done!

The Bat Garland requires a sewing machine in addition to black card stock.

Again, search bats online to find a template.  I used this one:
http://www.madebymarzipan.com/wp-content/uploads/2012/09/bat.pdf
from Made by Marzipan. (She used hers for felt bats, mine are just card stock.)

Print out one bat, cut it out and then trace around that bat onto your black card stock.
Trace as many bats as you want, then cut them out. I had 13 bats, some a little smaller than others.
Get out your trusty sewing machine and, leaving a tail of thread, start sewing at the end of one wing, all the way across the bat body to the other wing and then once you are off the wing, let the machine keep stitching for about an inch. Add another bat, stitch all the way across allowing the machine to make some extra stitches again at the end.


Yes, you can sew through card stock.
Continue sewing your bats in a row until all of them are attached. Leave another tail of thread at the end.
Voila!  A bat garland.

The framed B-O-O just required some small empty frames and white card stock.
Using Microsoft Word I started with a blank document and picked the scariest fonts I could find.
The only real trick here is to space the letters apart enough to give you room to frame them.
Also, I may be the only person in the world that did not know this, but if you can't get the font large enough, you can just type in your own number for font size.   As in my font only goes up to 72 points but I wanted 100 points. Type 100 in that font size box and there you go.

My final project was the flower arrangement.

Bare branches and dead sunflowers stuck in a Mason jar. No water required!

Have a deadly time decorating.....


*Ghostbuster lyrics

09 December 2013

Decorating the Cabin: Part Two for REAL!


Decorating the Cabin: Part Two for Real: Inside!

The snow stopped last week finally.

We got about 2 feet total of snow in a 24 hour period.

And we have not been above freezing since last Wednesday.
Every single night we have been in the negative digits.
Every single morning Carlos and I have gone out for a (very quick) walk in the -9º/-6º/-11º weather. Somehow that dog does not understand that it is COLD outside.
Even the people who live here all of the time, people who have been born and raised in Colorado, say that it is unusual to be this cold, this early and for this long.
So why doesn't the dog get it??

Carlos loves a winter wonderland. 

Anyway,  all of this is to explain why I am a little slow on finishing my cabin Christmas decorations. I got the garland and lights up outside and then the cold and snow  hit. All I wanted to do inside was put some greenery out, but I had not cut the greenery. When it is below freezing, the greenery pretty much snaps off in your hands. And not in a good way. More of a "fall apart" way.

So yesterday was warm enough to get out and tromp through the snow to do some cutting. Carlos thought it was a wonderful adventure.

And now I have the stockings hung by the chimney with care and visions of greenery everywhere.
(My apologies to Clement C. Moore.)

Our mantel is so weird. The cabin ceilings are only 7 feet tall- very low. And for some reason the fireplace mantel is high.  It took me forever to find something long and narrow to fill that space.


I love these stockings. Even though I hang them all up with "Nice" on display, it seems "Naughty" turns up overnight.


And look what makes the perfect stocking hanger in a cabin.   Deer antlers. 
Thank you Brother Paul for providing the deer antlers for the fireplace.  My brother would have loved it up here, I'm so sorry he never made it.


We have these twig deer on the porch and by my desk.  We've always called this "Mad Deer Cabin" so they make a good mascot. 


Please notice their scarves. They are hand knitted. 
Yes, by ME!!   
Even though they aren't perfect, I am so pleased that I managed to actually knit something and take it off the knitting needles and put it to use. It's a Christmas miracle. 
(Click here to read about my adventures in knitting.  Learn to knit was No. 51 on my list.)


The kitchen (only) table has greenery also along with some lovely little pom pom dried weeds that I found on the road by the post office. This is budget decorating at its finest. Also, "green" decorating because once we leave town- I'm tossing the whole mess out in the side yard so it can decompose/reseed/mulch itself. 

And finally, even though he is outside, he didn't get decorated earlier. This is Kaiser. He greets everyone that comes to the door. 
It's Colorado. We have to have a bear. 


So thanks for joining me on my decorating tour. Happy holidays to all.
(Click for Posts One and Two on my decorating adventures.)

And....

I have to give a shout out to my girlies and their cheerleading team mates. 
Over the weekend they competed in the Colorado High School Activities Association State Cheerleading Competition.
Even though HALF of their team was new this year, they managed to beat out 7 other teams in their division to win a state championship.  They will even get championship rings.  
Just like the Super Bowl. Only not. 
And the school got a big ol' trophy. 
And the girls get bragging rights. 
I am so proud of them.  They worked very very very hard for this. And their routine was perfect.
Yay for the Salida Spartan Cheerleaders and their amazing and dedicated coaches, Kathy and Audrey. 

My two are dead center- to the right of Josh, the only boy on the team.
And props to Josh who probably got plenty of ribbing for being a cheerleader, but he also plays football.
And guess what? He's the only football player at the school that will get a championship ring this year. 
Besides, how much time did he get to hang out with 13 adorable girls? 
I think Josh is a pretty smart boy.

(If you are really interested, you can click here to see their winning routine.)


05 December 2013

Decorating the Cabin: Part Two


Decorating the Cabin: Part Two/Delayed


Well, 
I was going to post the decorations for the inside of the cabin. 

That would involve all the greenery over the fireplace and the greenery on the table.

However, I had not cut the greenery and Mother Nature had other ideas. 

Mother Nature added her decorations, mine will have to wait.

 Cozy cabin in the woods. 

Our Christmas trees.  

Once we dig out, I'll share the inside marvelous-ness! (Ha!)


04 December 2013

Decorating the cabin:Part One

Decorating the Cabin: Part One/Garland

Back in September I made a pine cone garland to go over the cabin door.

The original garland back in September.

You can see that tutorial here.

Amazingly, the pine cone garland is still alive and still hanging over the front door- in spite of some pretty heavy duty winds and lots of snow.

But now I am ready for some festive Christmas decor.
And I'm not interested in spending much money or doing too much, because we will head back to Texas for Christmas day.    But I do want the cabin to feel joyous while we are here.

So this morning, working against the clock and the snow fall to come, I reworked the pine cone garland.

First I gathered a large amount of greenery. I'm sure these greens have specific names but I'm calling them pine and fir. And that is probably incorrect. Whatever.

Two different kinds of greens.
A great place to start!

Then I spread my original garland out on the front porch so I could work on the entire length at once.

The original garland about to get
gussied up for the holidays.


I also gathered my supplies:
Wire nippers
Floral wire
Gloves

Today's cast of characters.

If you do not already have a garland to use as a base, you can start with a length of jute or wire. Cut the jute/wire the length that you wish your garland to be.  If you are using a light weight wire you might want to cut three lengths and braid it together- making your base a little sturdier. (If you do this, be sure to cut your wires longer than you want your finished project. Twisting/braiding will take up some of the length.)

I cut about 25  ten inch lengths of floral wire to start. You'll probably need more than that before all is said and done, but 25 will get you started.

Wear the gloves or risk poking yourself with the wire ends and pine cones. (Like I did...)
(Also, if you don't wear the gloves you will need to schedule a manicure post-garland, post- haste.)

Starting at each end I lay down some airy fir greens, twisting the existing pine cones around a bit just to hold it in place.

Start from the ends and work your way in,
overlapping as you go.

Next I placed the pine, overlapping the fir,  again laying it down and twisting a pine cone or two around the stems.

Alternating fir and pine I worked from each end to the middle. At this point I was just laying it out and not wiring anything into place.

Stop, admire your work and revel in the glorious evergreen scent.

Once you have reached the center and are happy with your lay out, start tying your wires about every 6 to 8  inches.  Tie them around the greens to secure everything in place. Once everything is secure, wrap  the wire ends up and down each individual stem- securing the greens to the jute and pine cones. If you just tie it without wrapping up and down, your ends will stick out and your greenery will fall off.

Just for balance I tried to make the center heavier and fuller, tapering down the sides to the airy fir at each end.

For the center I twisted three wires together and then into a loop which was tied around the garland center. The loop is used to hang the garland and help secure the centerpiece.

Three wires, twist them together, 
make a loop.

Once all your greens are tied on, hang your wreath back up. The exact center will still look a little bare where the greens meet.

Then make a bouquet of greens/dried flowers and stick it into the center spot, either through the hanging loop or tied to that loop. Whatever works and makes it stay put.

Make a little bouquet for the center.

A smaller bouquet is wired to the bottom of the center- filling it out and covering any bare spots that might be showing where it is hung.

If you are an over- achiever, add a bow.

I wanted a very simple cabin-y look and stuck with just greens.
(Also it started snowing and I was working outside.  Nothing like snow everywhere to make you decide you are done.)

Admire your finished product.

Carlos staring out the door and me standing in the snow.


Joy to the world.


05 October 2013

Everyone is Decorating...

The Fall decorations are out....


Everyone seems to be decorating!

I have company this week, my friend Cherrilla from Martha's Vineyard.   We have been playing and so I have NOT been doing any blogging.  But we did take care of knitting class earlier today.   (No. 51: 
Learn to knit or crochet)    I'll post on that next week. 

In the meantime, it seems the Fall/Halloween decorations are all over.

So a few pictures to inspire everyone:
I'm decorating:


The mantel gets pumpkins and antlers.
The front porch gets a mum and more pumpkins and gourds.

Another shot of the pine cone garland.

Kaiser the bear holds greenery.

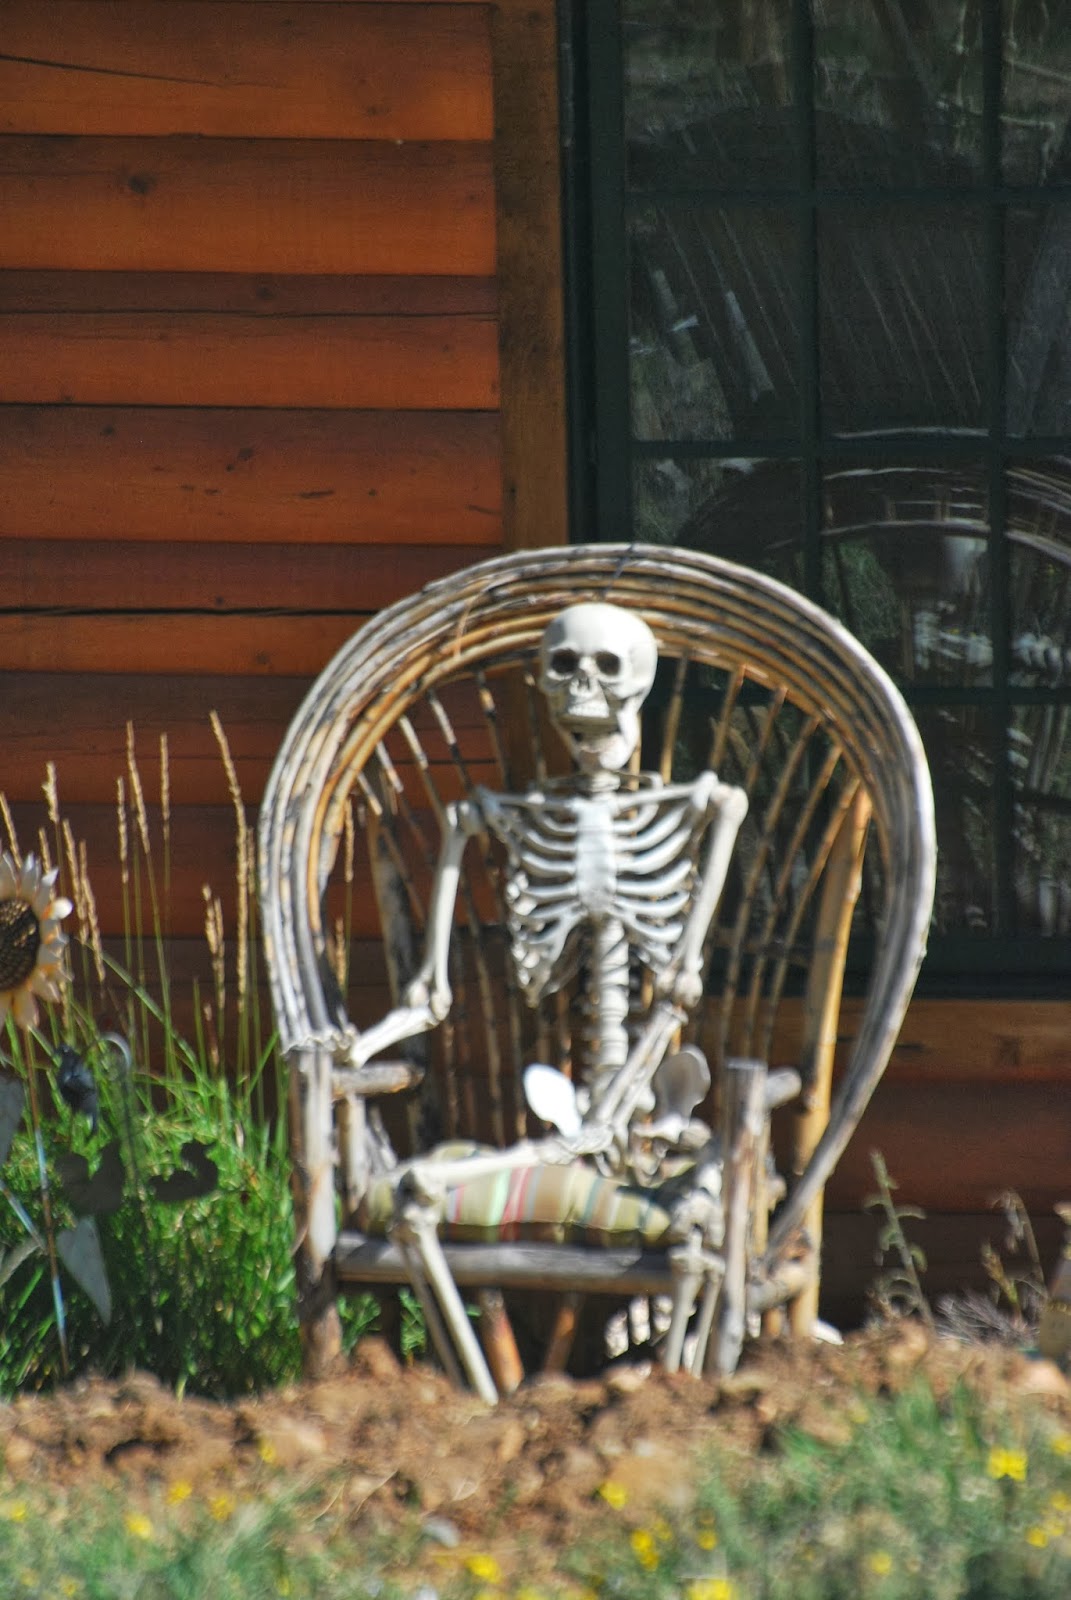
The neighbors are decorating:
Maybe I need to take a little banana bread to 
the neighbors. They are looking a little thin.

"Witch's House-1 mile"
Wait, do I live one mile away?? 
Maybe no banana bread for them after all.

And O! Goodness!  Look who else is decorating!
Mother Nature herself.

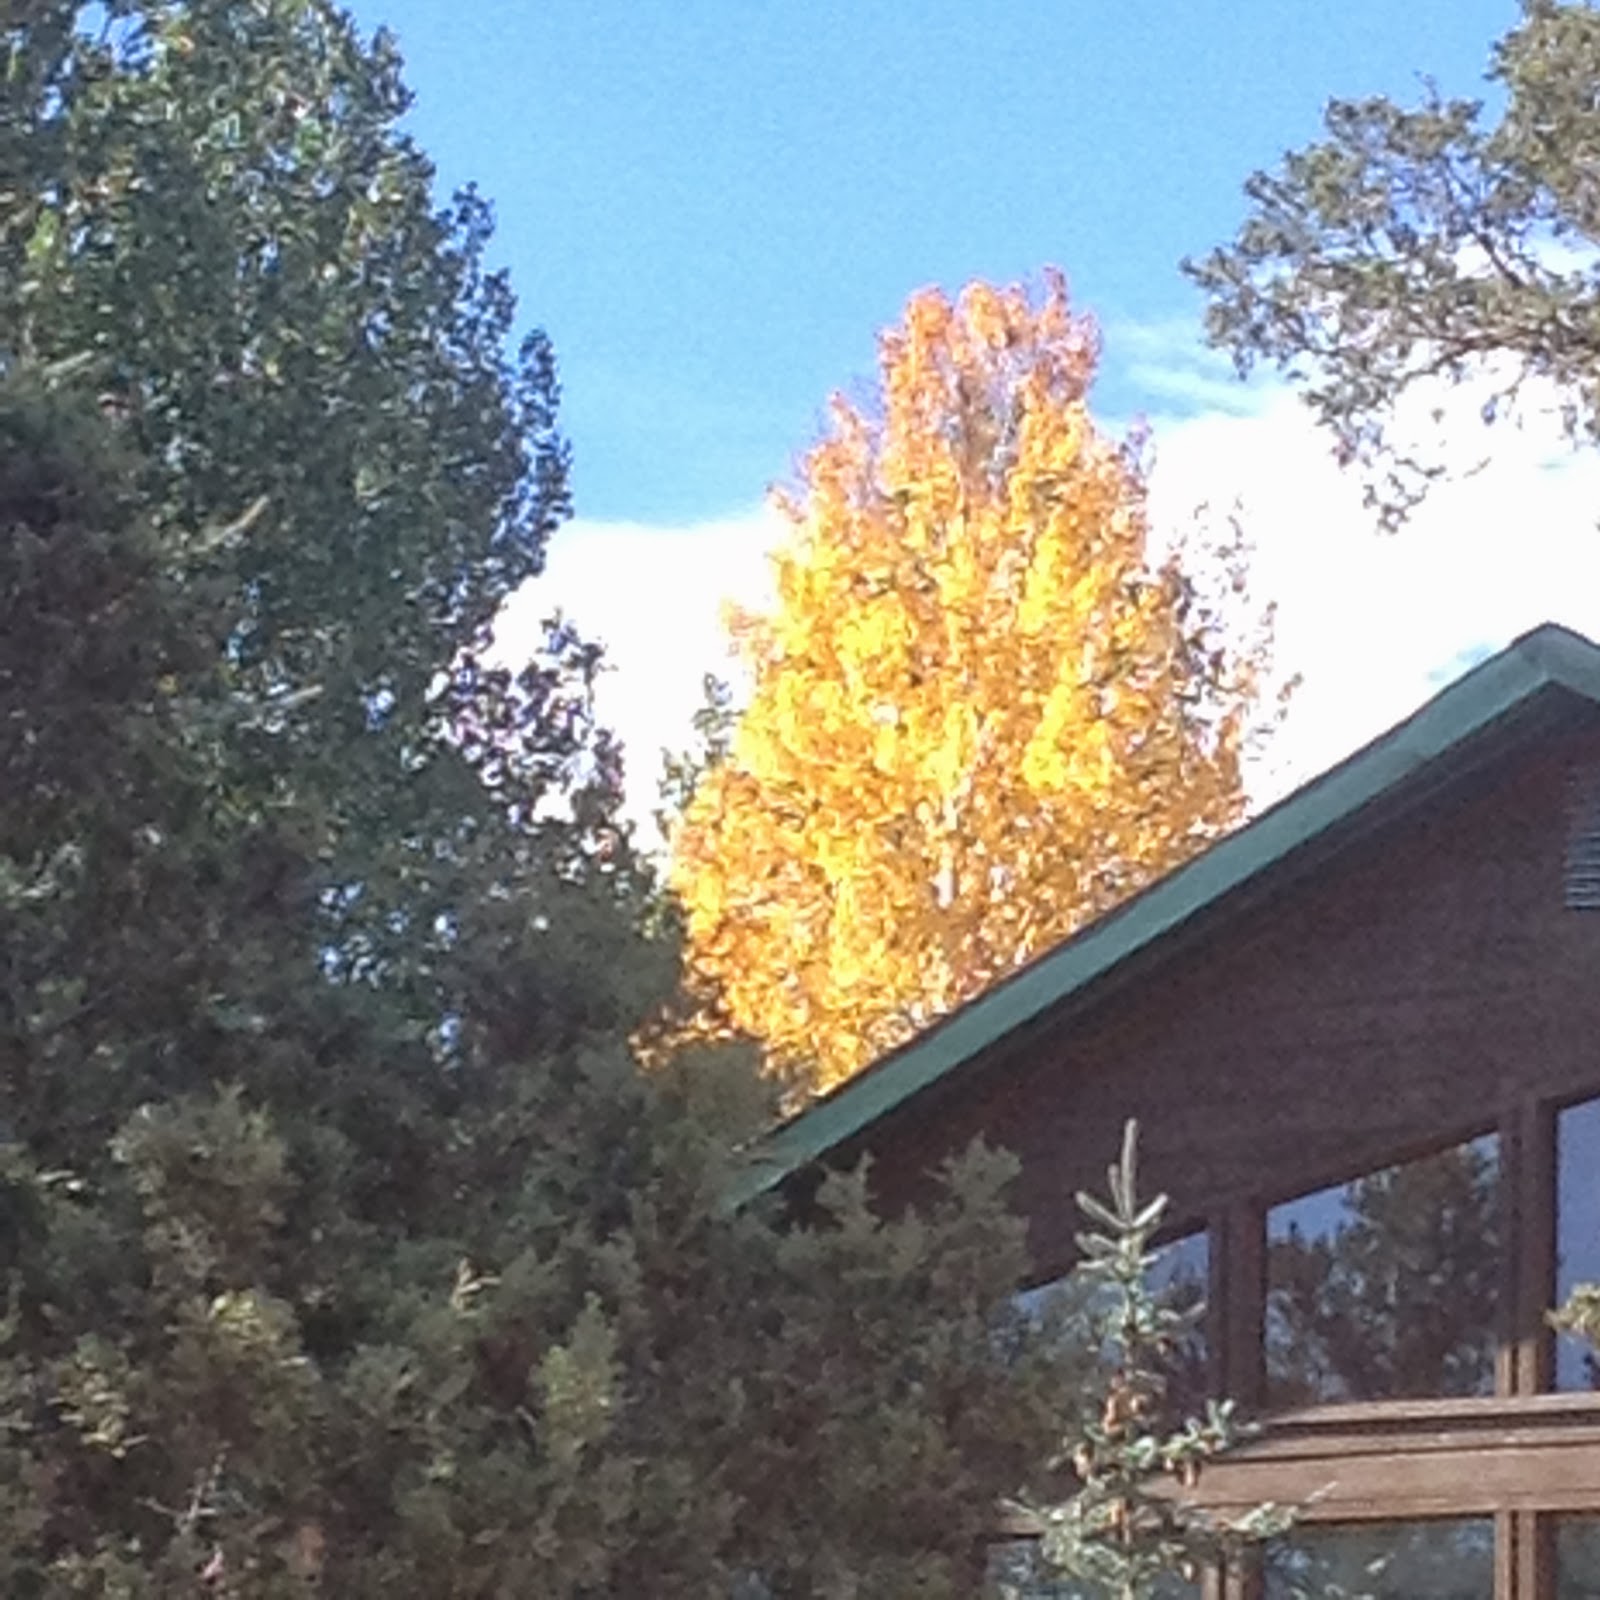
The trees are turning...

Seriously, isn't this amazing? 

No, this tree is not on fire.
Looks like molten gold. 

And maybe this is jumping the gun a bit.
But isn't it pretty? 
Someone left their sprinkler on last night.

So Colorado may not have the reds of New England, but we certainly do have our Fall displays going on.

Get out and enjoy the scenery.

Back to my list next week.